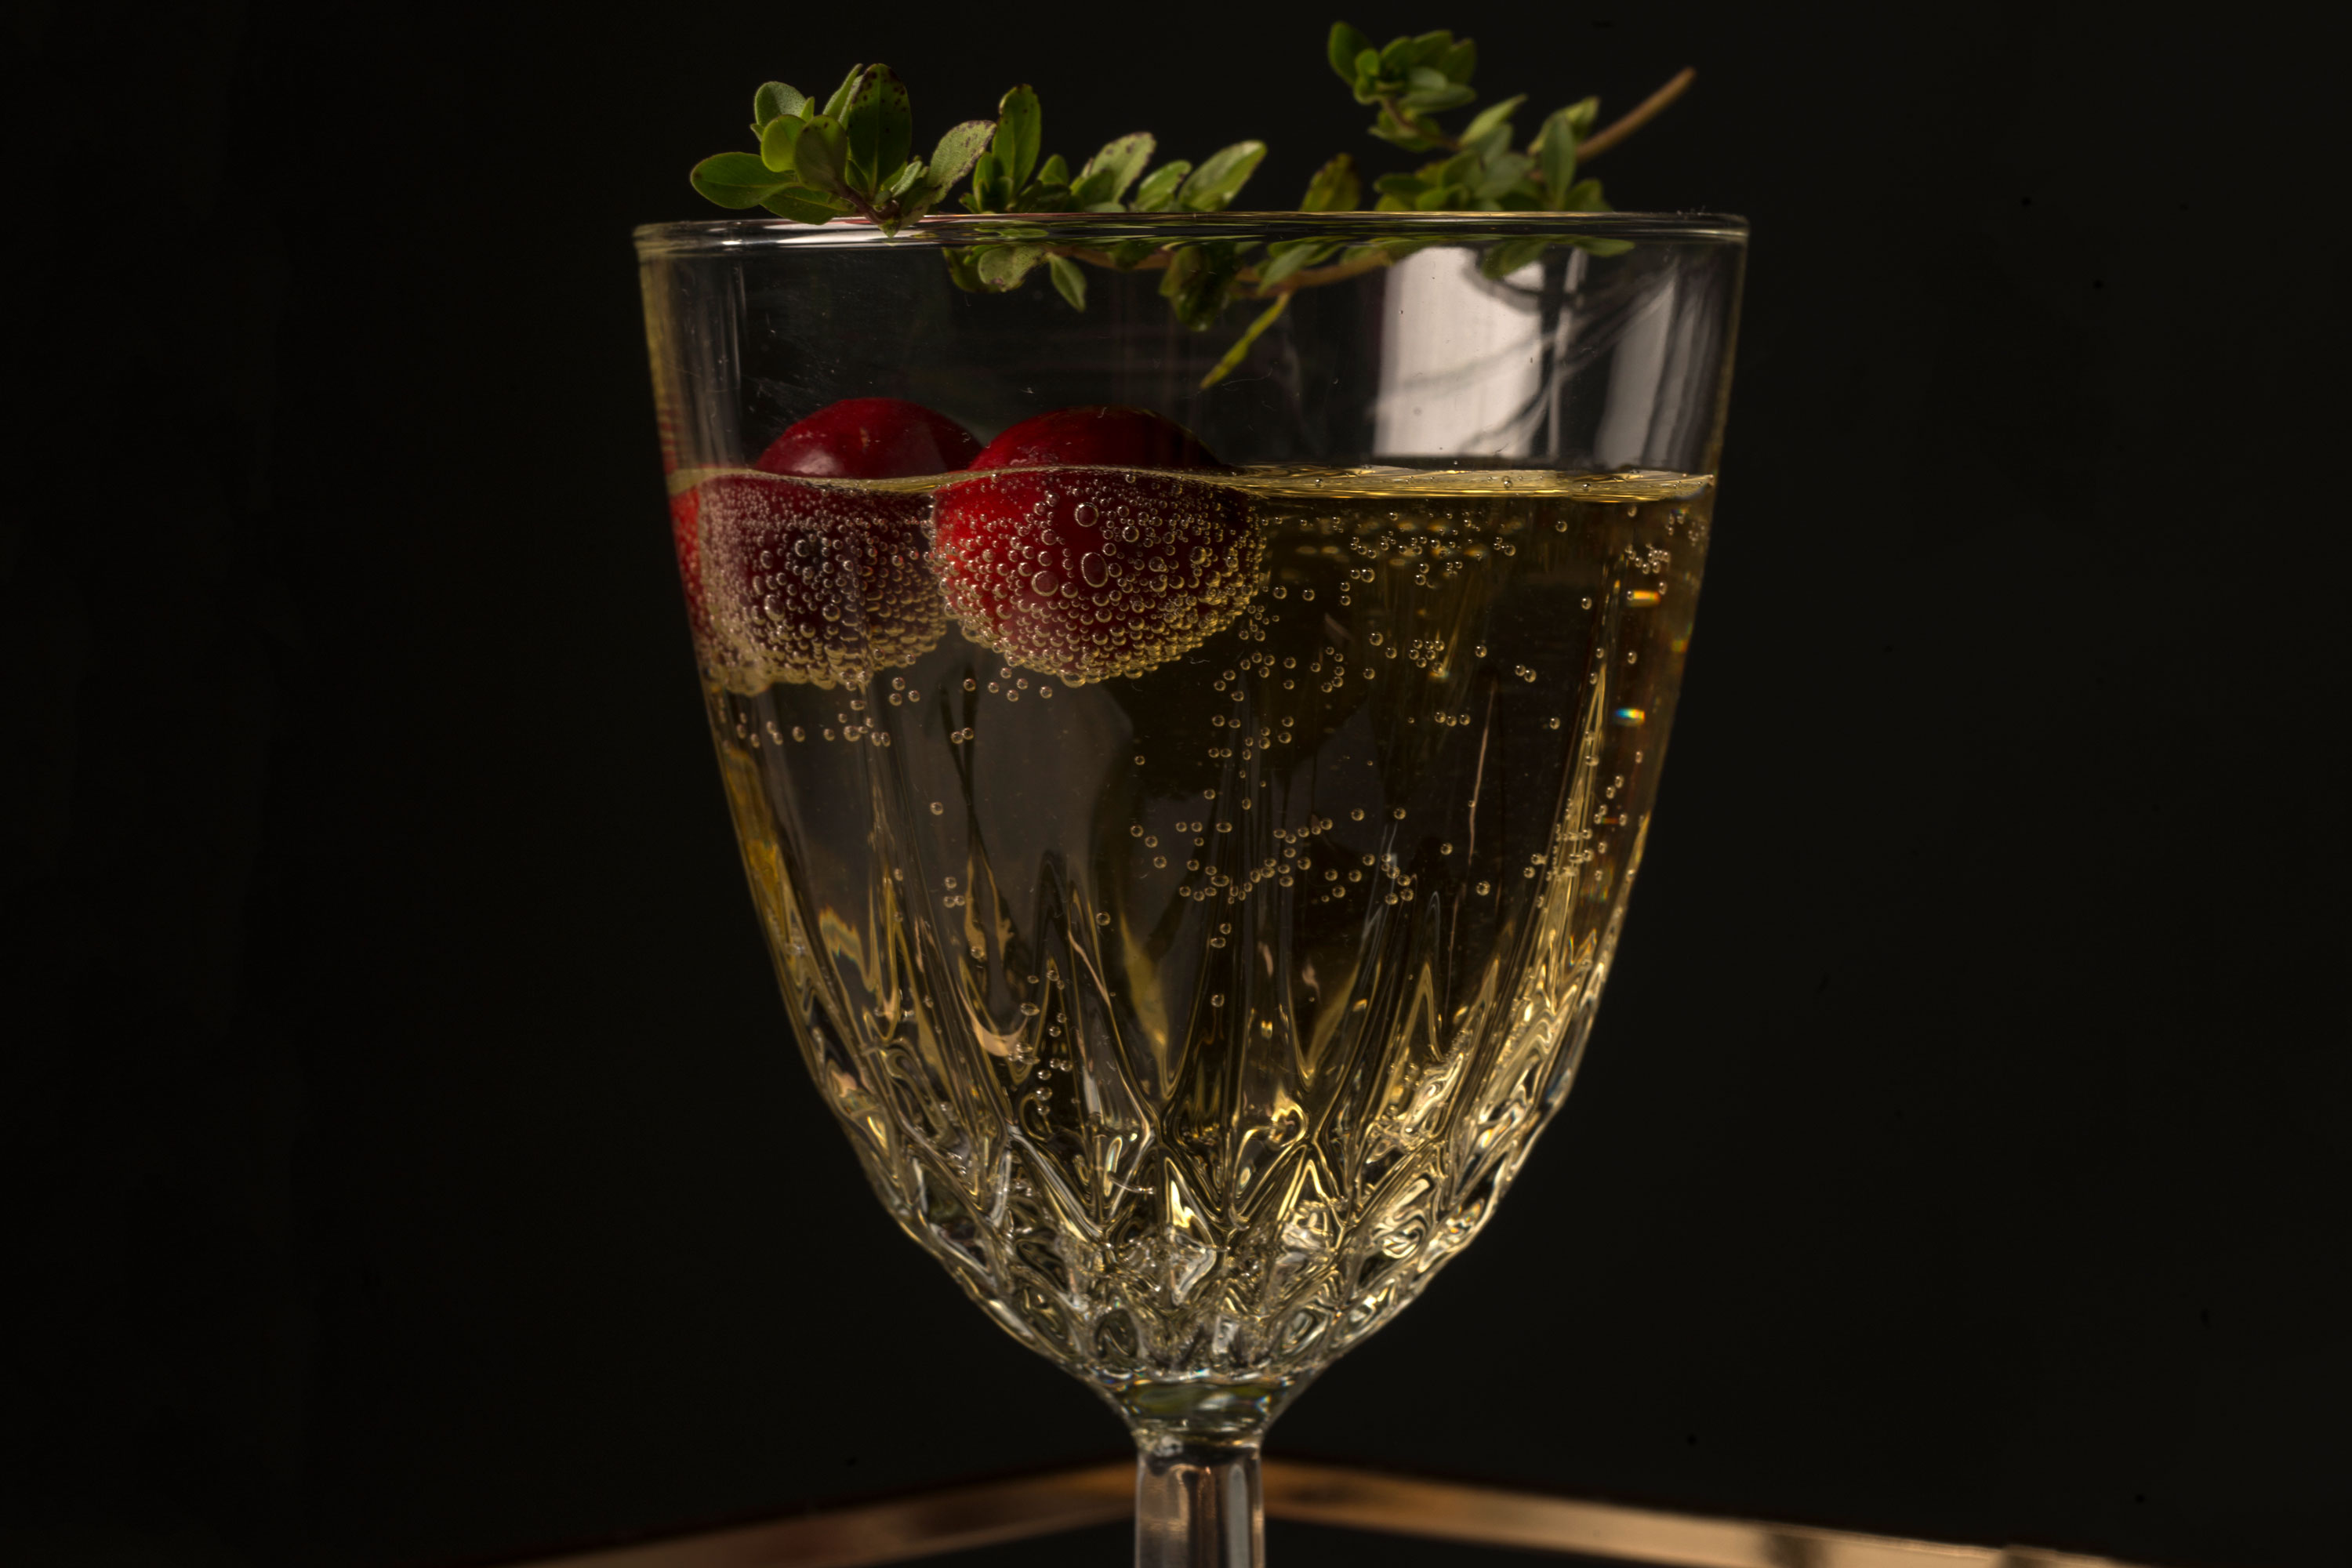
When it comes to propping and styling food and beverage photos, capturing the perfect shot is no easy task. Hot foods sweat, frozen goods melt, bubbly beverages quickly go flat, and don’t even get us started on the delicate constitution of dairy products like whipped cream and butter.
Here are some behind-the-scenes tips from recent projects to help keep your food and cocktail pics looking fresh for your next shoot—the end product may not be edible, but boy will it look good.
Stock Up on Supplies
A well-stocked styling kit is your best friend when it comes to keeping things looking neat and tidy. Keep a stash of different sized clips and fasteners in your kit to fix awkward folds and eliminate wrinkles when ironing doesn’t do the trick. Foamboard, toothpicks and fishing line are also great to have for positioning food and props. Other items to keep on hand? Tweezers, paper towels and cotton swabs can help meticulously assemble the objects in your scene and get that stray tortilla chip to sit at the perfect angle.
If You Can’t Make It, Fake It
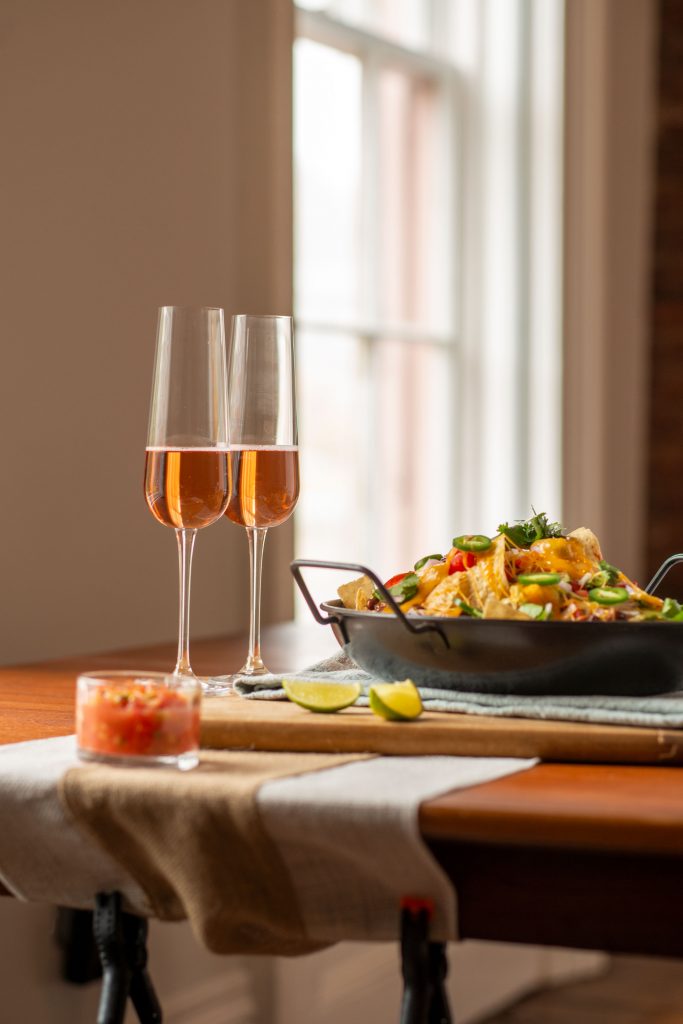
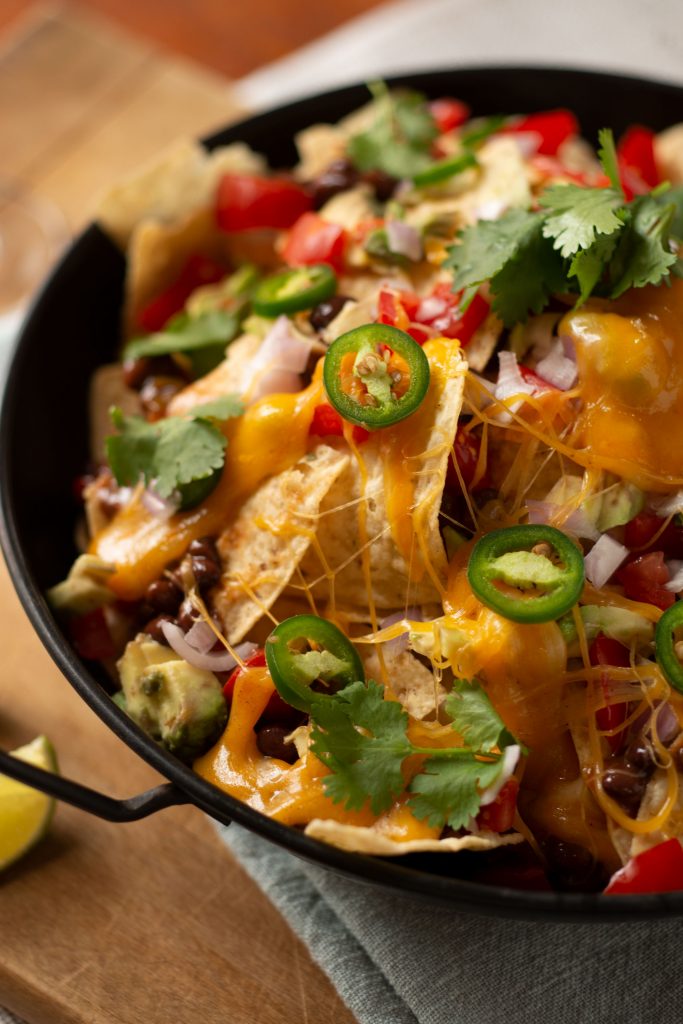
If your food shot needs to look like it’s fresh out of the oven—and well, you don’t have an oven—a mini blow torch or heat gun can help create perfect char marks, quickly melt butter, brown meat or make potatoes look crisply roasted. If you need char marks in a pinch and don’t have a blow torch, try black eyeliner or charcoal rubbed gently on the food surface. A hot plate is also a great tool to have on hand for situations that need a quick heat source—like melting cheese for the nacho shot above (as we did, on the floor of our studio… yum).
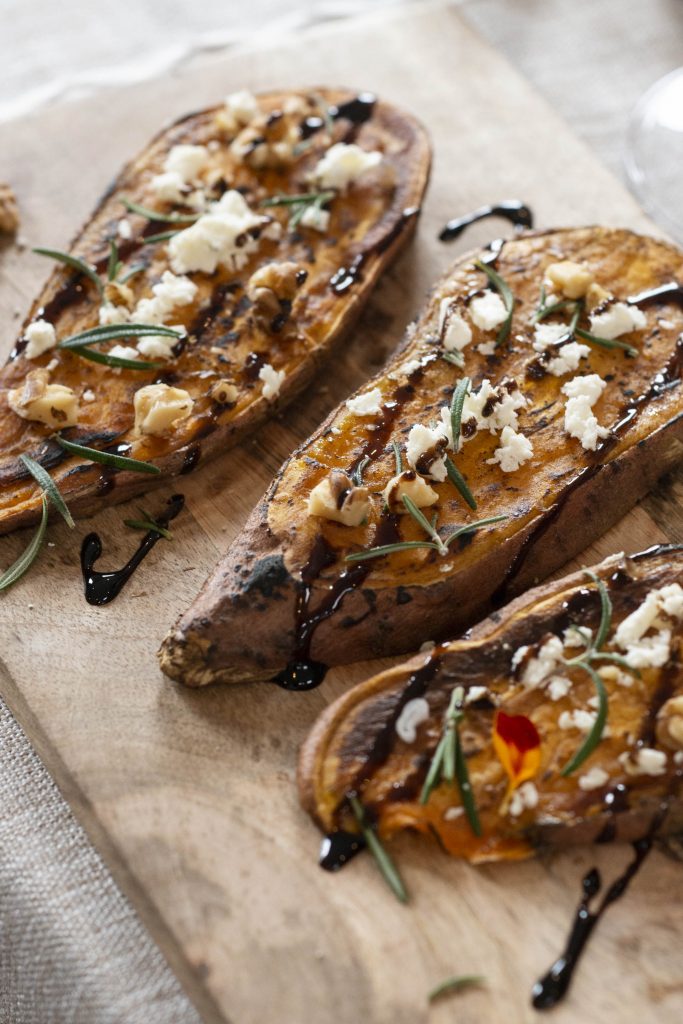
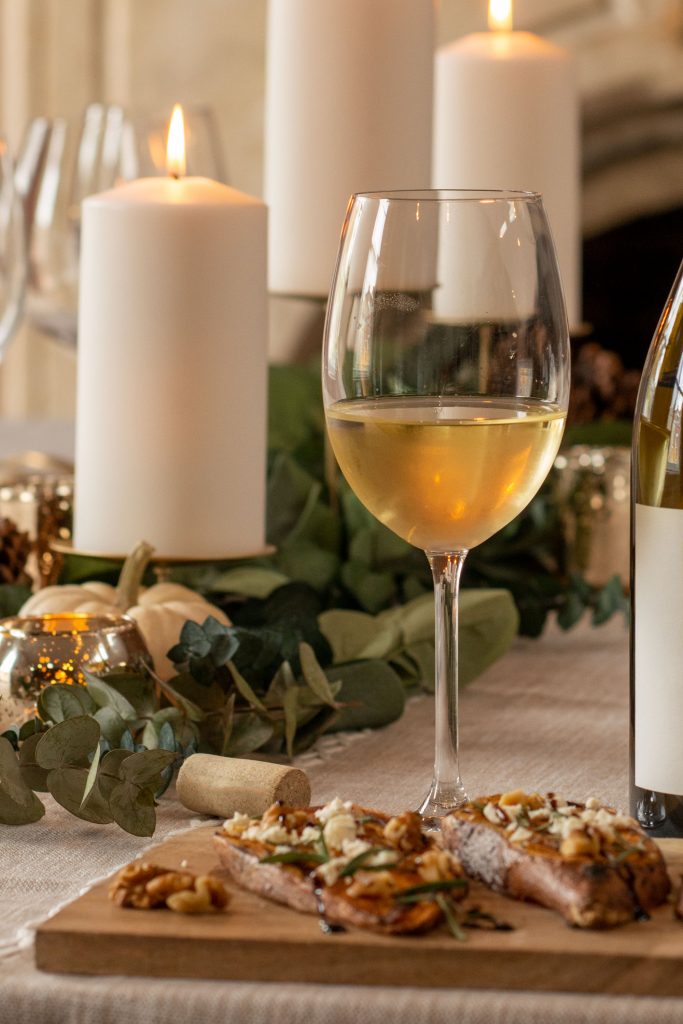
To create real condensation quickly, start with a clean, dry glass at room temperature and make sure the liquid you’ll be using is extra cold by placing it in the freezer 15-20 minutes before pouring. Use a straw to blow hot air around the glass to naturally create more condensation.
Save the Good Stuff
Champagne goes flat quickly, so don’t open a bottle just because you need a glass of bubbly in the shot. Use a less expensive option like sparkling cider so you can keep topping off to create more suds without being bummed when things fizzle out. If you need longer-lasting bubbles, rumor has it a mixture of water, soy sauce and an alka seltzer tablet was the industry go-to in the MadMen era—let us know if you try it out, just please don’t taste it.
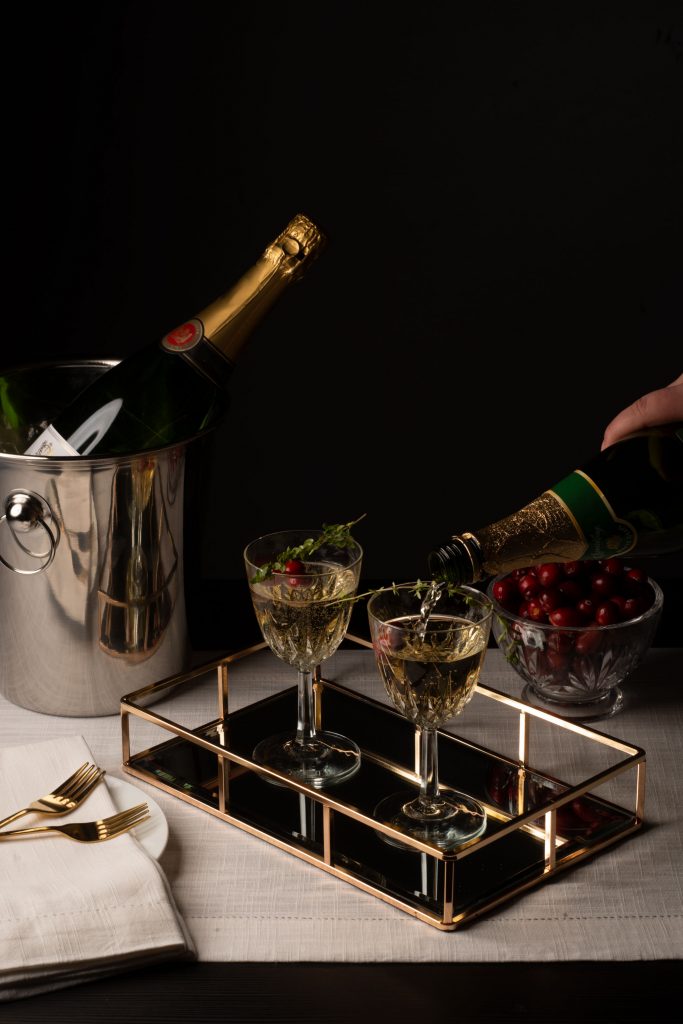
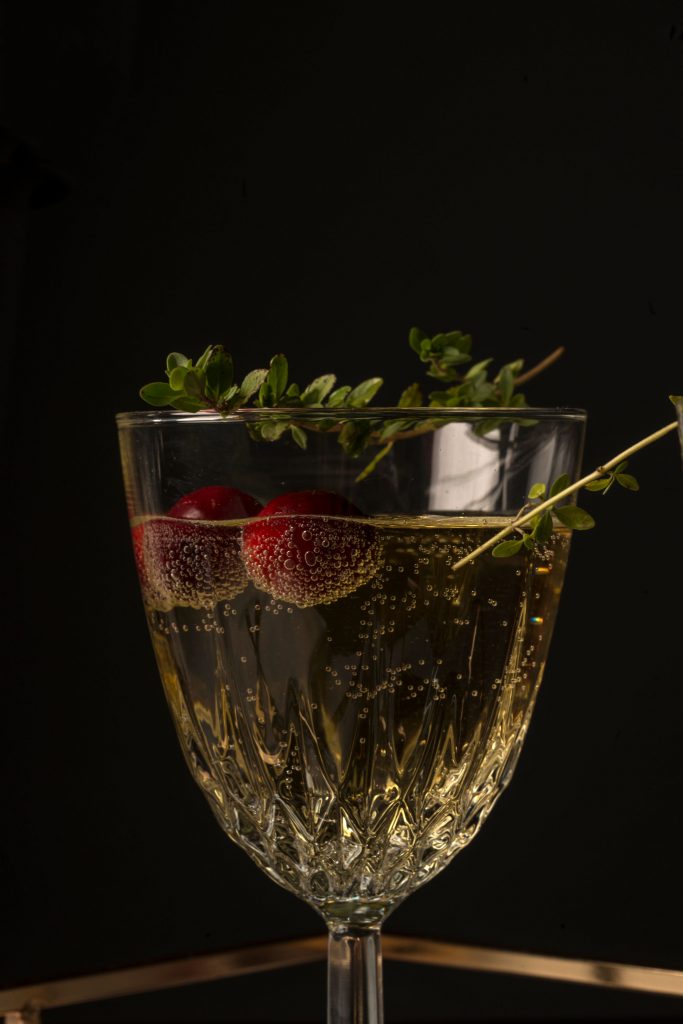
For images that feature champagne as the main subject, use real (cheap) champagne, and time your pours with your photos. Have an extra bottle ready in case you need to top off to add more foam or dump the glass and reset.
Pick the Perfect Delivery Method
The plate, tray or glass your food/drink is served in or on is important for setting up the scene. Choose containers that are appropriately sized for what they will be holding and props that work with the height of the rest of the objects the shot.
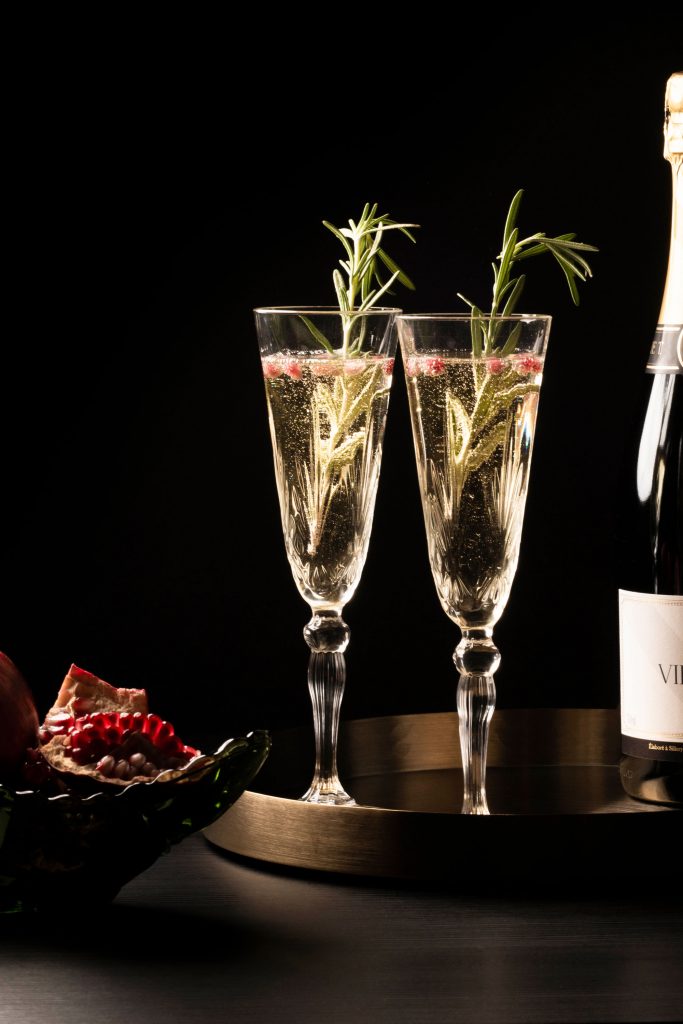
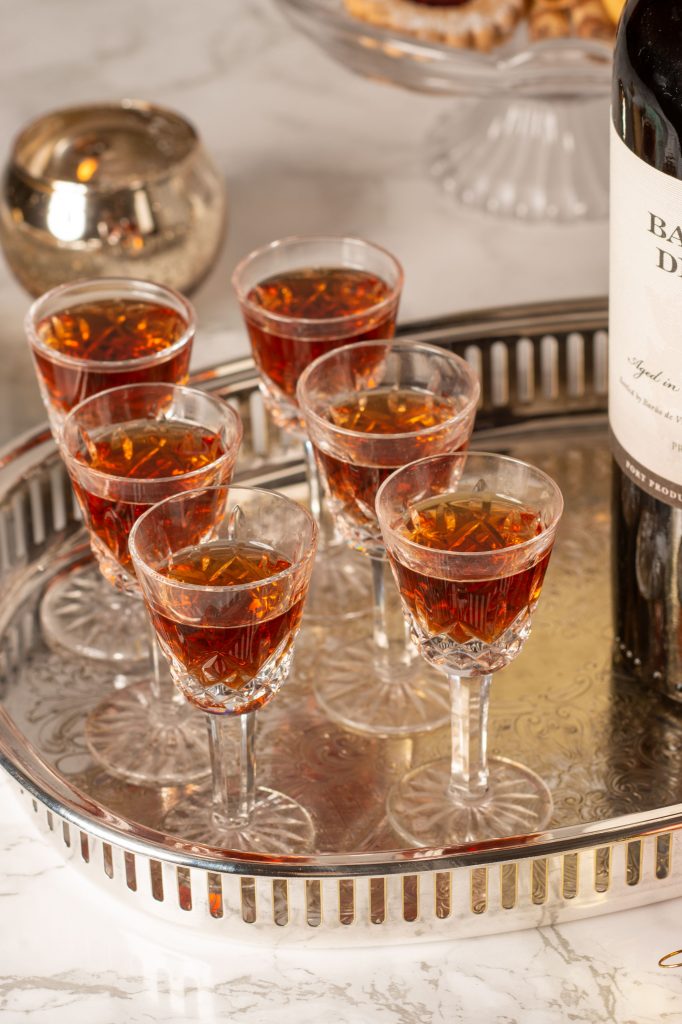
Have a Concept Defined for Each Shot
Keep the story each photo is trying to tell top of mind while planning. Backgrounds, surfaces, props and lighting make all difference between a mimosa at brunch and after-dinner drinks.
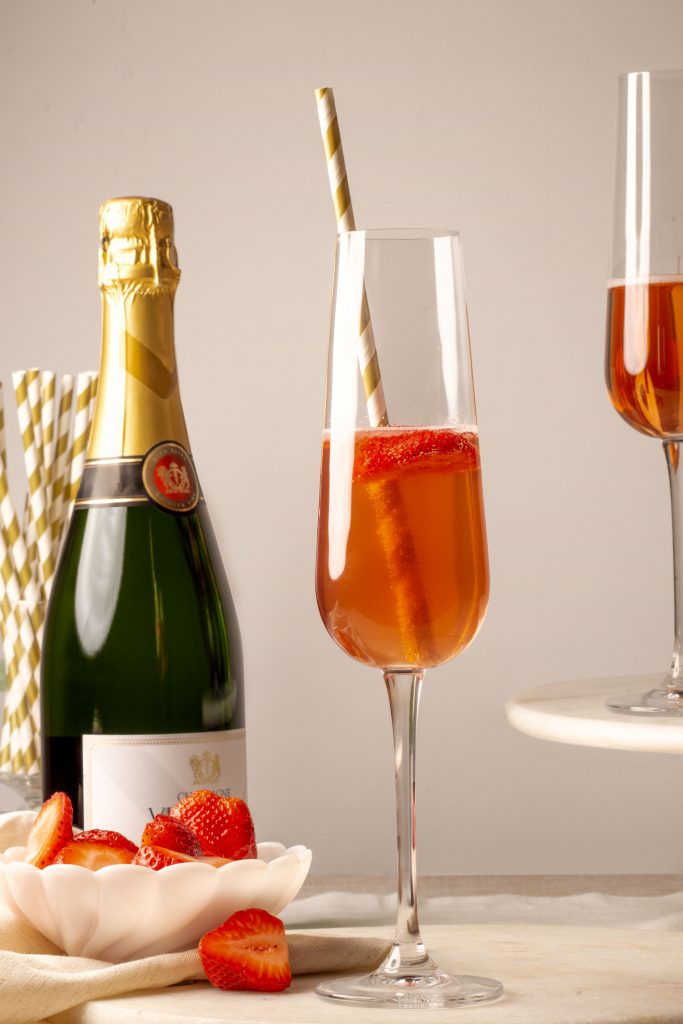
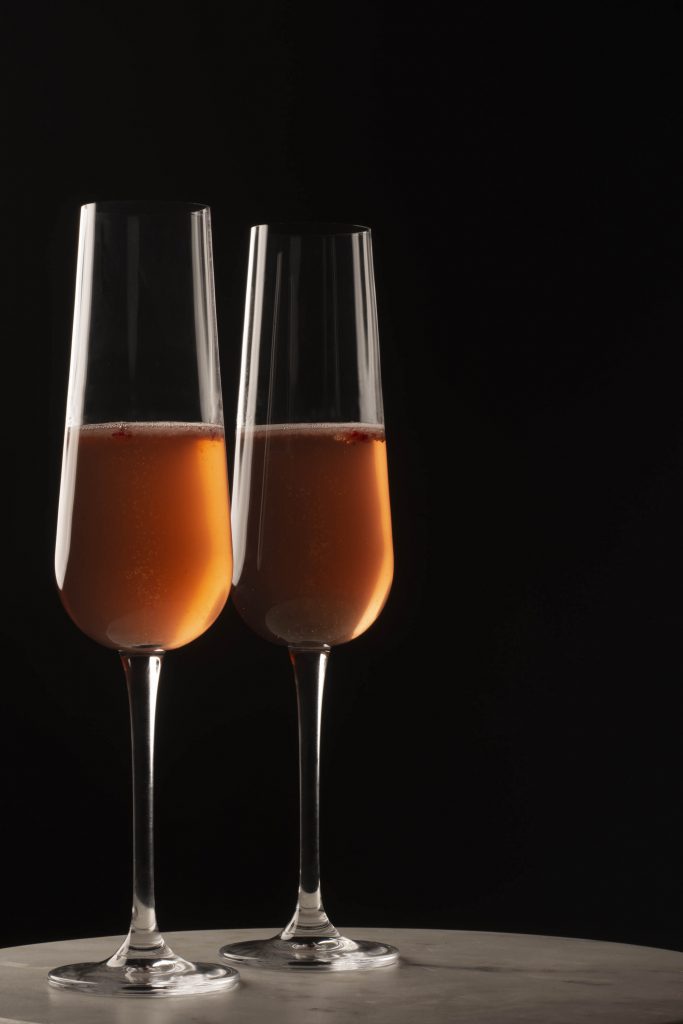
Play with Your Food
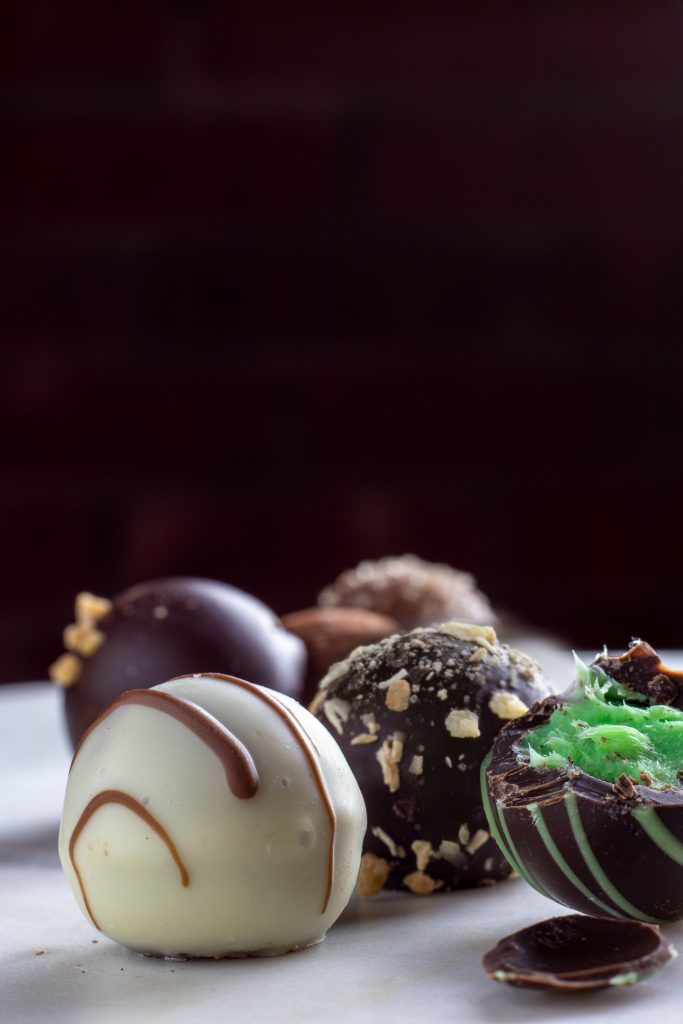
Try different arrangements, cutting things in half, making crumbs (or just making a mess in general) to create visual interest and find intriguing compositions. You never know what will turn out to be the perfect shot.
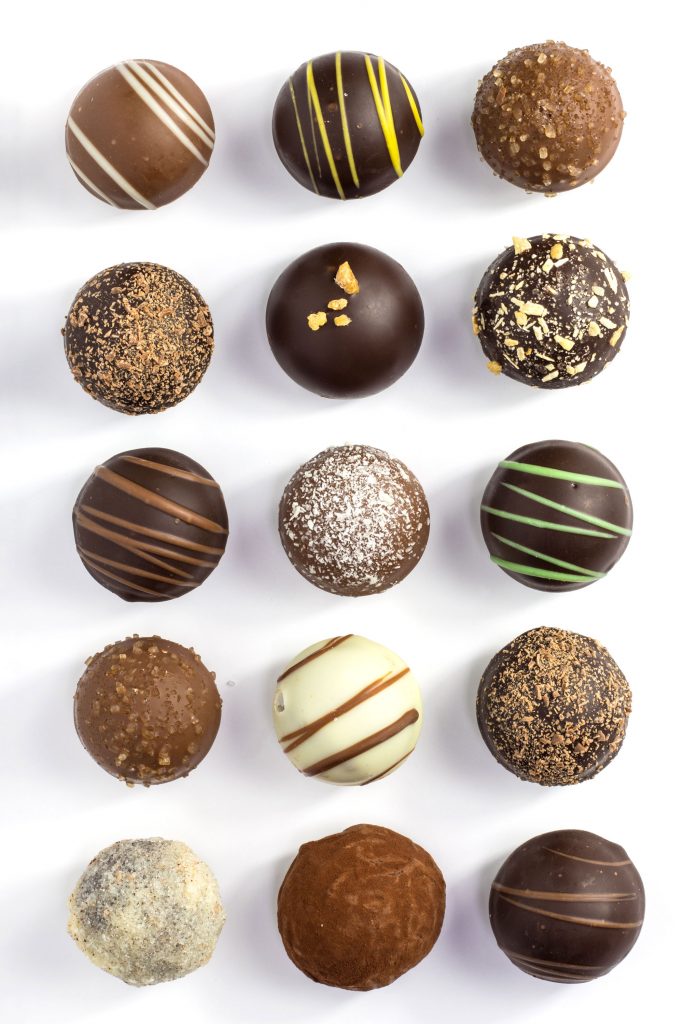
Hire a Pro
Want someone else to worry about all of this for you? Shoot us an email (hello@honestcreative.co) and we’d be happy to help!
Art Direction/Props/Styling: Sarai Bartels/Honest Creative
Photographer (Drinks/Sweet Potatoes/Nachos): Meghan Spiro
Chocolate Photos: Honest Creative for The Valley Table, Issue 88/Winter 2019
